
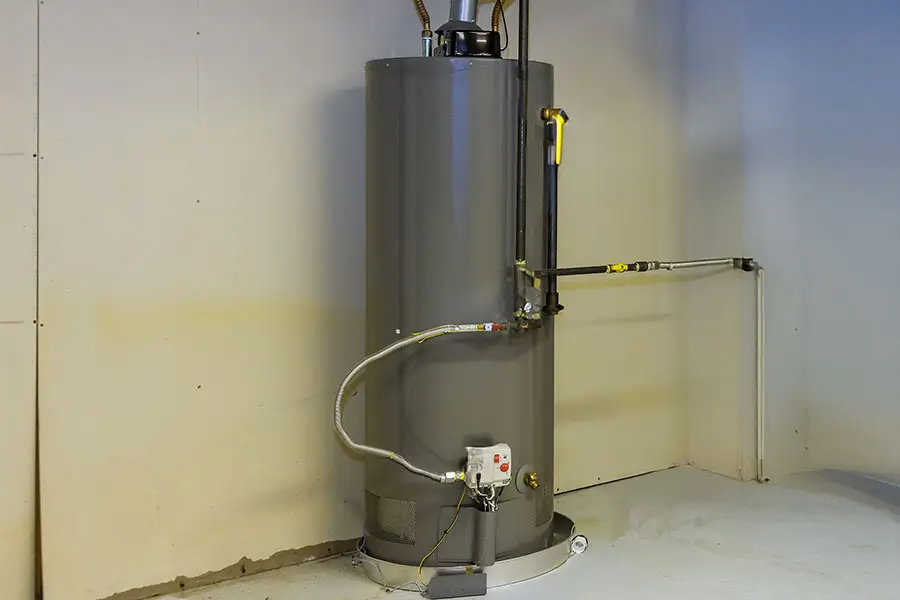
If you notice water pooling around your water heater, don’t ignore it. A leaking water heater can lead to significant damage if not addressed promptly. Start by pinpointing the leak’s source, whether a faulty valve or loose connections. Understanding these issues is essential for effective repairs and maintenance. Knowing what to check first can save you time and money, so let’s explore the common causes and quick fixes you can implement.
Understanding the Common Causes of Water Heater Leaks
When you notice water pooling around your water heater, it’s essential to identify the cause quickly. Common culprits include a faulty temperature and pressure relief valve, which can fail and cause water to escape. Additionally, sediment buildup at the tank’s bottom can lead to corrosion, resulting in leaks. Inspect the inlet and outlet connections; loose fittings can allow water to seep out. The tank itself may develop cracks or rust, especially in older units. Don’t overlook the drain valve—if it’s not sealed properly, it can leak. Regular maintenance and inspections can help prevent these issues, ensuring your water heater operates efficiently and serves your household reliably. Addressing these causes promptly protects your home and minimizes damage.
Identifying the Source of the Leak
Identifying the source of a water heater leak involves systematically inspecting the unit and its components. Start by checking the area around the water heater for puddles or damp spots. Examine the tank for visible cracks or corrosion. Pay close attention to the connections and fittings; tightness can prevent leaks. Inspect the inlet and outlet pipes and the drain valve for signs of water accumulation. Don’t forget to look at the floor beneath the heater—water can travel, disguising its origin. Finally, observe the temperature and pressure relief valve; if it’s dripping, that could indicate an issue. By following these steps, you can accurately pinpoint and address the source effectively.
Inspecting the Pressure Relief Valve
The pressure relief valve is essential in maintaining safe operating conditions for your water heater. If you suspect a leak, inspecting this component is vital. Here’s what you need to do:
- Locate the valve: Find it near the top or side of the tank.
- Check for leaks: Look for any water pooling around the valve or dripping from it.
- Test the valve: Gently lift the lever to release some water; it should flow smoothly, then stop when released.
- Evaluate functionality: If the valve doesn’t operate correctly or shows signs of corrosion, it may need replacement.
Checking the Drain Valve for Leaks
After checking the pressure relief valve, inspect the drain valve next for leaks. Start by examining the area around the valve for any signs of moisture or water pooling. If you notice water accumulation, it likely indicates a leak. To confirm, gently tighten the valve with a wrench; avoid over-tightening, as that could cause damage. If the leak persists, it may be necessary to replace the drain valve. Make certain to turn off the water heater and drain the tank before proceeding with the replacement. Always follow the manufacturer’s instructions for the new valve to guarantee proper installation and avoid future issues. This proactive approach helps maintain your water heater’s efficiency and longevity.
Examining the Water Supply Lines
Sometimes, water supply lines can be the source of leaks in your water heater. To examine these lines effectively, follow these steps:
- Inspect for visible damage: Look for cracks, corrosion, or bulges in the pipes.
- Check connections: Confirm all fittings are tight and secure; loose connections can cause leaks.
- Monitor for water: Look for damp spots or pooled water around the supply lines.
- Test for pressure issues: If the water pressure is too high, it can strain the lines and lead to leaks.
If you identify any problems during your inspection, consider replacing damaged lines or tightening connections. Addressing water supply line issues promptly can prevent further damage and guarantee your water heater operates efficiently.
Investigating the Tank for Corrosion
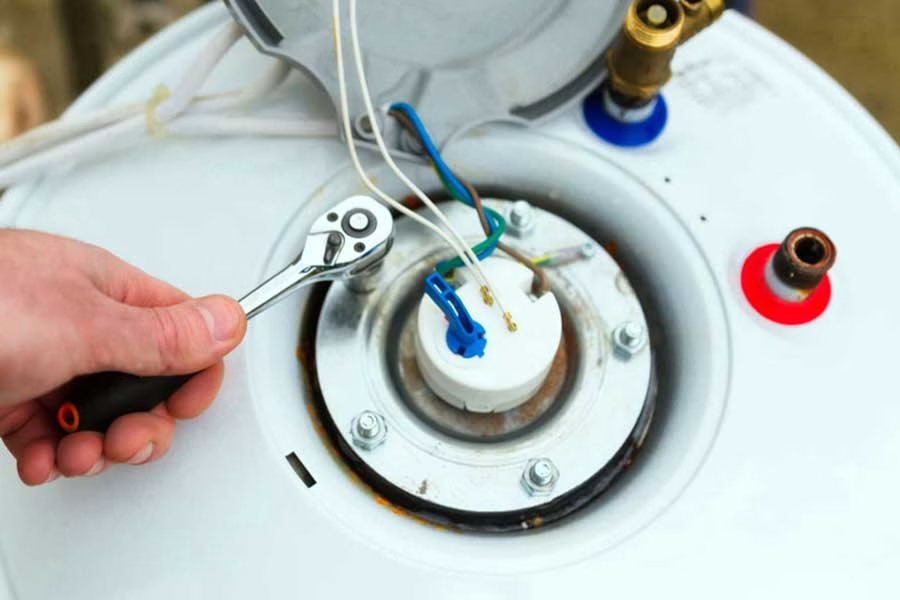
While examining your water heater, checking the tank for signs of corrosion is essential, as this can lead to significant leaks and reduced efficiency. Start by inspecting the exterior for rust or flaking paint, often indicating underlying issues. Look closely at the welds and seams; these areas are prone to corrosion. Tap the tank lightly with a tool if the tank is metallic; dull sounds may suggest thinning metal. Don’t overlook the anode rod inside the tank; it’s designed to attract corrosion and should be checked regularly. If you spot any corrosion, it’s vital to address it immediately to prevent further damage. Contact a professional if you’re uncertain about the severity of the corrosion or how to proceed.
Assessing the Temperature and Pressure Settings
To guarantee your water heater operates efficiently and safely, you must regularly assess the temperature and pressure settings. Maintaining proper settings not only enhances performance but also prevents leaks and potential hazards. Here’s what you should check:
- Temperature: Set it to 120°F for ideal efficiency and safety.
- Pressure Relief Valve: Test it monthly to verify it functions correctly.
- Pressure Settings: Keep your pressure around 50–60 psi to avoid excess stress on the tank.
- Regular Monitoring: Check for fluctuations or unusual readings that could indicate underlying issues.
Temporary Fixes You Can Implement
If you discover a leak in your water heater, implementing temporary fixes can help minimize damage while you arrange for a professional repair. First, turn off the water supply to prevent further leaking. Use a bucket or towels to catch any water that escapes. If the leak comes from a connection, tighten the fittings with a wrench. For small pipe leaks, apply pipe tape or a rubber patch secured with hose clamps as a short-term solution. Additionally, you can place a waterproof tarp under the heater to catch excess water. Make sure to monitor the area regularly until the professional arrives. These quick actions can help protect your property while you seek a permanent solution.
When to Call a Professional Plumber
After implementing temporary fixes, it’s important to recognize when to call a professional plumber. Addressing water heater leaks can be complex, and certain situations require expert intervention. Here are key indicators to seek professional help:
- You notice persistent leaks despite your attempts to fix them.
- The leak originates from the tank itself, indicating potential tank failure.
- You’re unsure about the cause or source of the leak.
- The repair involves complicated plumbing work or electrical components.
Acting quickly can prevent further damage and guarantee safety. Don’t hesitate to contact a qualified plumber if you encounter any of these situations. Your proactive approach not only safeguards your home but also serves others by guaranteeing reliable water access.
Preventive Measures to Avoid Future Leaks
Although leaks can happen unexpectedly, implementing preventive measures can markedly reduce the risk of future issues with your water heater. First, regularly inspect your water heater for any signs of corrosion or wear. Check connections and fittings for tightness. Second, flush the tank annually to remove sediment buildup, which can cause overheating and damage. Third, consider installing a water heater pan to catch leaks before they cause significant damage.
Additionally, monitoring the temperature setting, keeping it around 120°F, can prevent excessive pressure and strain. Finally, schedule routine maintenance with a qualified technician to guarantee your system operates efficiently. By taking these proactive steps, you’ll safeguard your investment and promote a more reliable water heating experience for everyone in your home.
Conclusion
In summary, if your water heater leaks, identify and address the source quickly. Inspect components like the pressure relief and drain valves, and check your supply lines. Implement temporary fixes if needed, but don’t hesitate to call a professional if the issue persists. Regular maintenance is essential for preventing future leaks, so consider scheduling annual flushes to keep your water heater in peak condition. Stay proactive to avoid potential water damage and costly repairs.
Frequently Asked Questions
How Can I Tell if My Water Heater Is Still Under Warranty?
To check if your water heater’s under warranty, locate the model and serial number, then consult the manufacturer’s website or customer service. Warranty details typically depend on purchase date and specific terms outlined in the documentation.
Can a Leaking Water Heater Cause Damage to My Home?
Yes, a leaking water heater can cause significant damage to your home. Water can weaken structures, promote mold growth, and damage flooring and walls. Regular inspections and maintenance can help prevent these issues from escalating.
What Are the Signs of a Failing Water Heater?
You’ll notice signs like inconsistent water temperature, strange noises, or rust around connections. If you see leaks or your water is discolored, it’s time to assess the situation and consider getting a professional evaluation.
How Often Should I Replace My Water Heater?
You should replace your water heater every 8 to 12 years, depending on usage and maintenance. Regular inspections can help you identify issues early, ensuring efficient performance and preventing unexpected breakdowns. Stay proactive!
Are There Any Safety Risks With a Leaking Water Heater?
Yes, there are safety risks with a leaking water heater. You could face electrical hazards, structural damage, or mold growth. It’s essential to address leaks promptly to protect your home and guarantee safety for everyone.